
Adding a dual-screen portable monitor to your setup can transform the way you work, game, or study. Fortunately, setting it up is quick and easy. Follow this step-by-step guide to get started in just minutes.
Step 1: Unbox and Inspect Your Portable Monitor
Before beginning the setup, ensure everything you need is included in the box. Typically, you’ll find:
-
The dual-screen portable monitor
-
USB-C cable
-
Power adapter (if needed)
Inspect the monitor and cables for any visible damage to avoid setup issues later.
Step 2: Connect the Monitor to Your Laptop or Device
Your dual-screen monitor offers multiple connectivity options. Choose the one that’s most compatible with your device:
USB-C Connection
-
Plug one end of the USB-C cable into your laptop’s USB-C port and the other into the portable monitor.
-
Many USB-C ports support both power and data transfer, so no additional cables may be required.
Step 3: Adjust Your Laptop’s Display Settings
Once connected, your laptop should detect the portable monitor automatically. If not, follow these steps:
For Windows:
-
Right-click on your desktop and select
Display settings. -
Under “Multiple displays,” click
Extend these displaysto expand your workspace. -
Drag and arrange the display boxes to match the physical layout of your monitors.
-
Click
Applyto save your changes.
For Mac:
-
Go to
System Preferencesand selectDisplays. -
Click the
Arrangementtab. -
Drag and position the monitor icons to match your setup.
-
Uncheck “Mirror Displays” to use the extended screen mode.
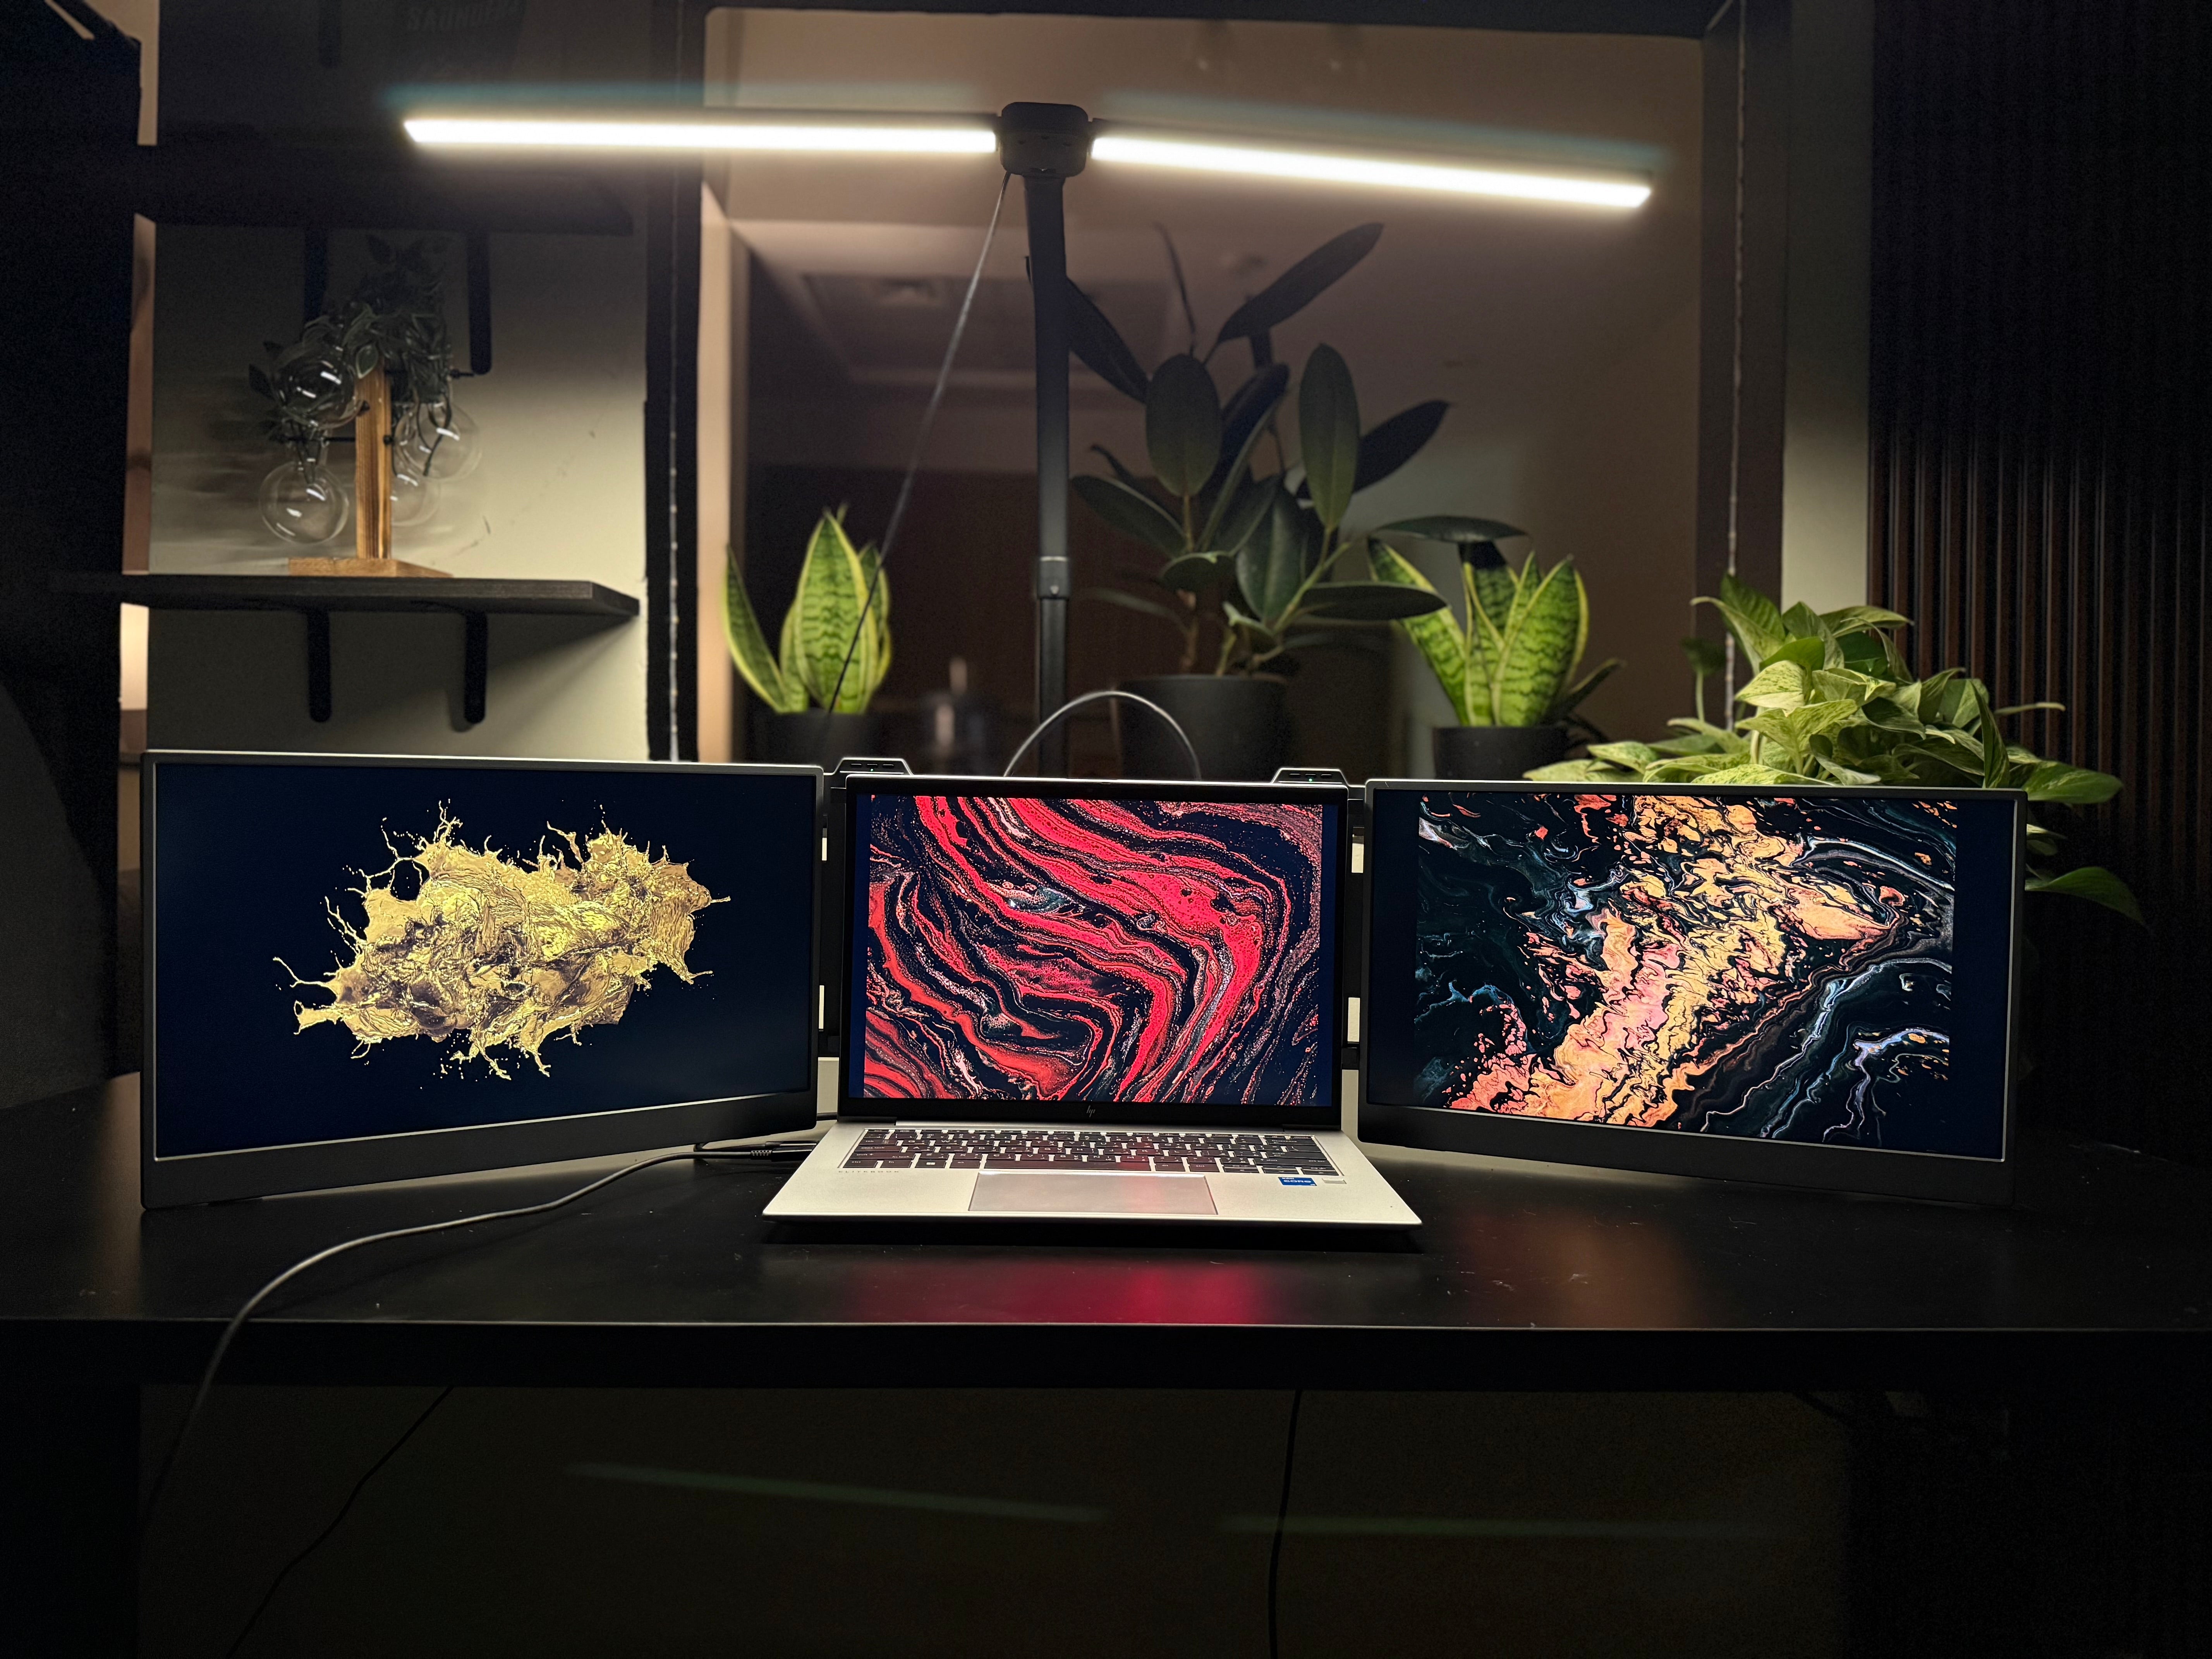
Step 4: Position Your Monitor Ergonomically
Proper positioning is key to maximizing comfort and productivity:
-
Align Screen Heights: Use a stand or adjustable mount to align the portable monitor with your laptop screen.
-
Angle for Comfort: Slightly tilt the monitor for easier viewing.
-
Optimize Distance: Place the monitor at arm’s length to reduce eye strain.
Step 5: Install Any Required Drivers or Software
Some portable monitors may require additional drivers or software for optimal functionality. Check the instruction manual or the manufacturer’s website for download links.
Step 6: Test Your Setup
Now that your monitor is connected and configured, test it out:
-
Open multiple windows or apps to see how they appear on the extended screen.
-
Adjust brightness, resolution, or scaling settings for the best viewing experience.
-
Test compatibility with your workflow, whether it’s for gaming, designing, or multitasking.
Troubleshooting Tips
If you encounter issues:
-
Monitor Not Detected: Double-check your cable connections and ensure your laptop supports the connection type.
-
No Power to the Monitor: Verify the power source or try using a different USB port.
-
Screen Flickering or Resolution Problems: Update your device’s graphics drivers or adjust the resolution in display settings.
Final Thoughts
Setting up a dual-screen portable monitor is a straightforward process that can be completed in just a few minutes. With the right connections and display settings, you’ll enjoy the productivity boost of having an extended workspace wherever you go.
Explore our range of dual-screen portable monitors and take the first step toward a more efficient workflow today!


Share:
Maximize Your Workflow: Tips for Using Dual Portable Screens Effectively and Connecting Them to Your Devices
Understanding the Key Features of Dual-Screen Portable Monitors